VoiceSauce is capable of making many different acoustic measurements, and then outputing these measurements into a number of different formats. Users of VoiceSauce can control all aspects of this process, in order to customize their analysis for different data sets and to answer different specific questions. However, the basic user will tend to make all possible acoustic measurements on a series of sound files, and then output this data into a format that can be read by a spreadsheet manipulation program, such as Microsoft Excel. This tutorial is designed to instruct the user how to accomplish these basic tasks.
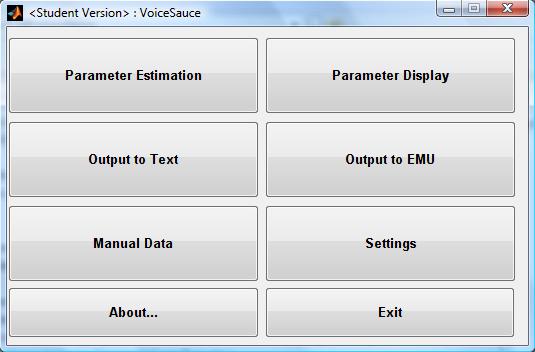
As VoiceSauce opens, the home screen will pop up and offer eight different options:
|
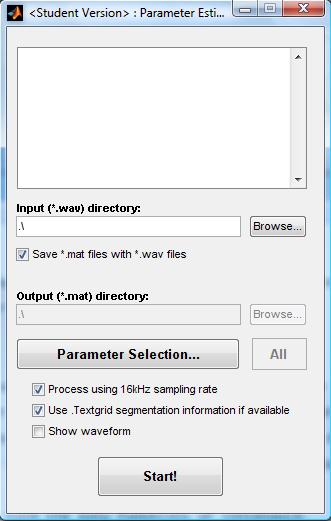
To get started with your analysis, first click on Parameter Estimation. This will open the Parameter Estimation window. VoiceSauce will analyze all sound files in a folder. Before running an analysis, VoiceSauce needs to be directed towards the target sound files. Under "Input (*.wav) directory:", the user can either directly type the file path, or the user can locate the file path manually by clicking the Browse... button. Using one of these two options, enter the file path containing the sound files to be analyzed. (See elsewhere in this manual for VoiceSauce will list all the sound files in the target directory in the top window. To have VoiceSauce conduct the analysis, click Start! (See elsewhere in this manual for information about other options) |
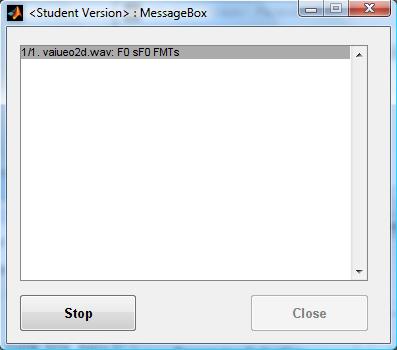
When Start! is clicked, a message box will pop-up indicating the progress of the analysis. This window has two buttons: Stop and Close. When the analysis begins, the Close button will be grayed out. At any time, the analysis can be stopped by clicking the Stop button. Once the analysis is complete, or when it has been stopped, the Close button will become active. Click it to close the window and return to the Parameter Estimation window. Now that the analysis is complete, go ahead and close the Parameter Estimation window as well. |
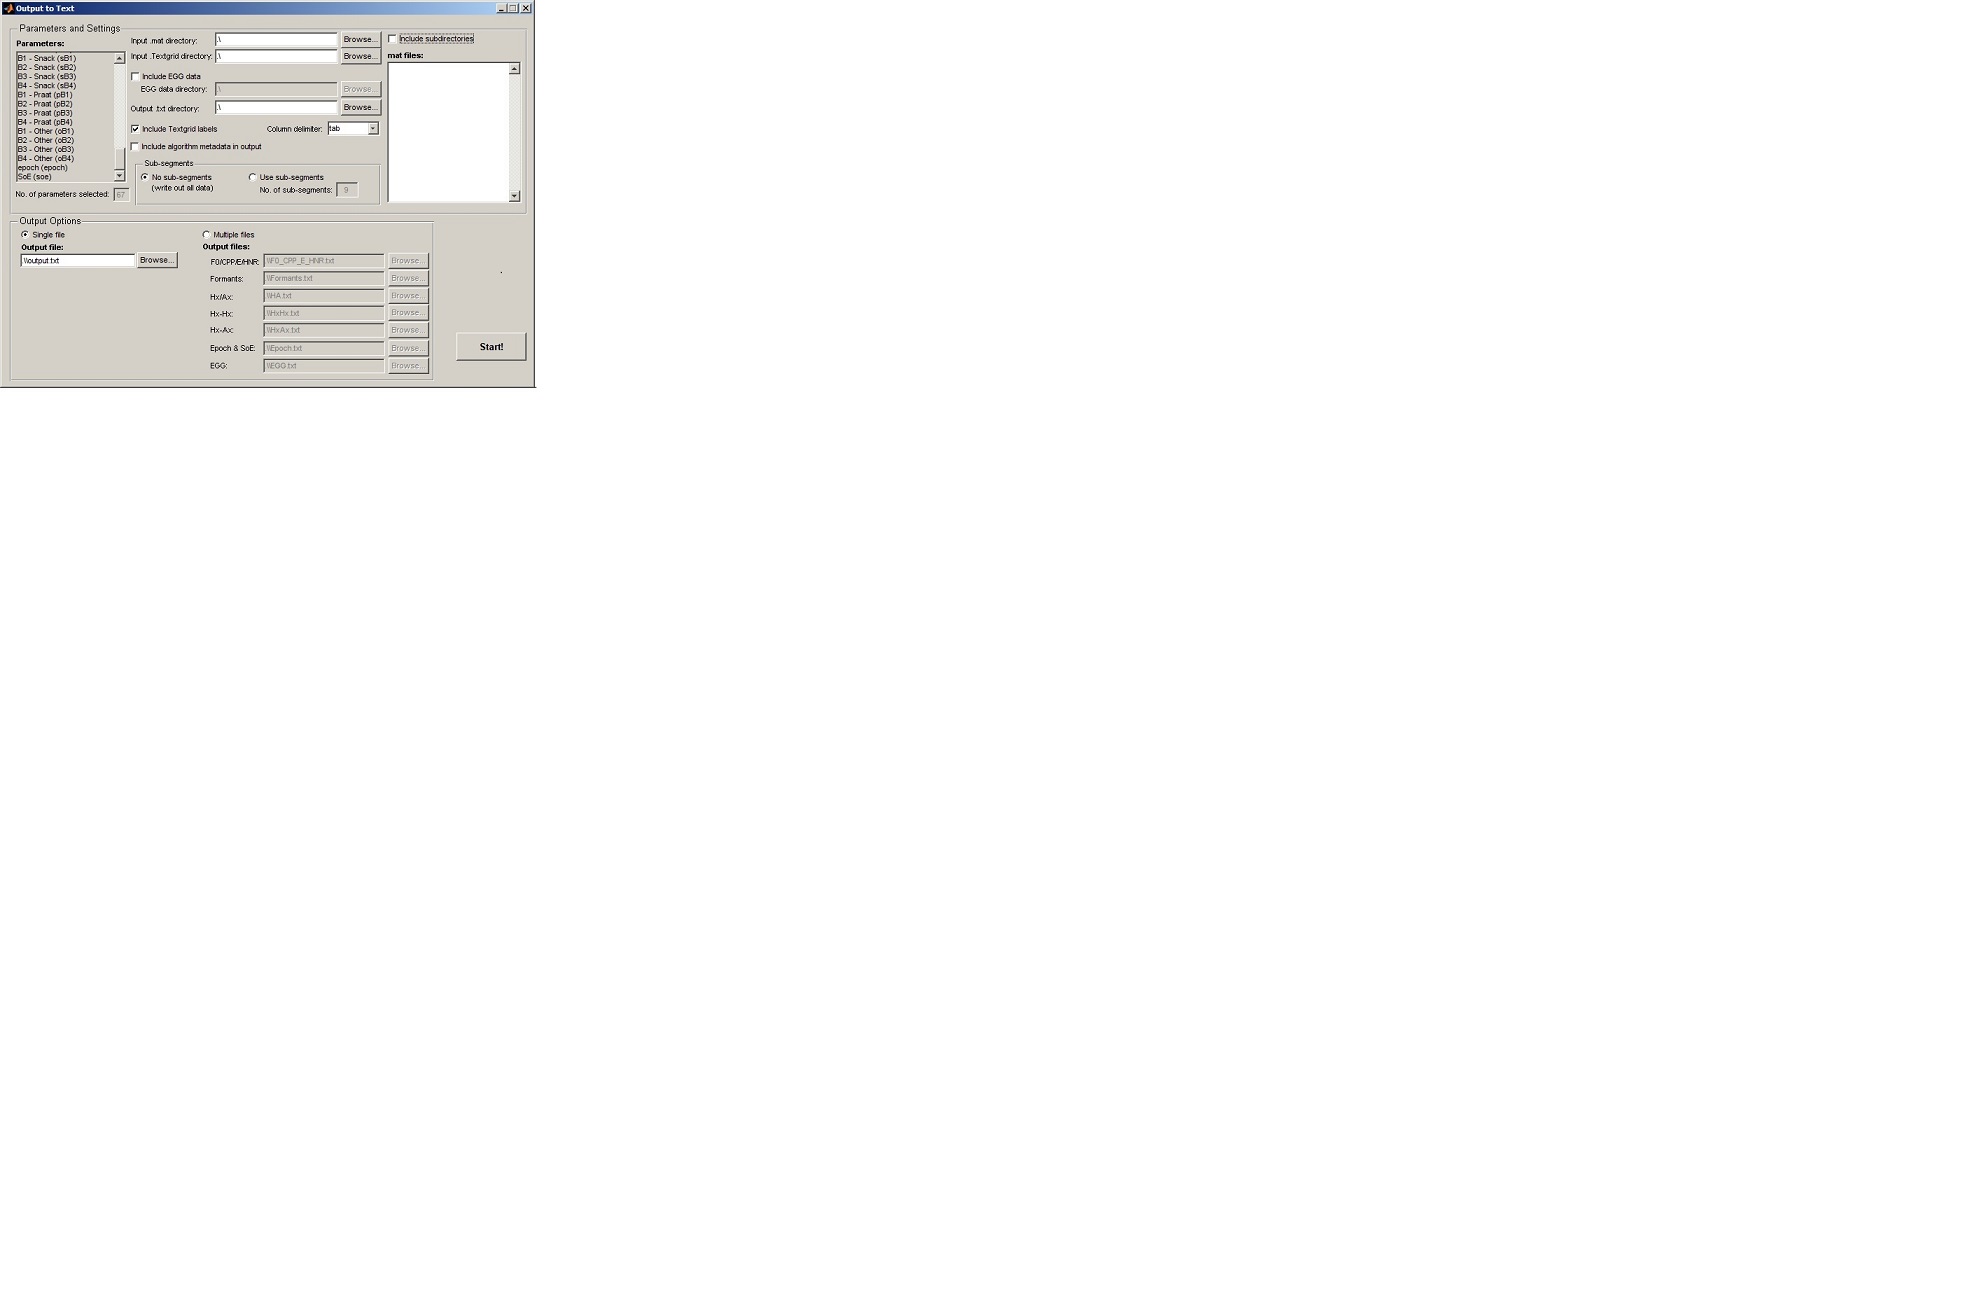
In the VoiceSauce home screen, click Output to Text. This will open the Output to Text window. This window is divided into two sections: Parameters and Settings and Output Options. The first step to outputting the measured data is to select which parameters will be written to file. Under Parameters:, click which of the measured parameters to write to text file. Next, the directory to which the data will be written must be specified. The file path can be written directly in the field to the right of Output .txt directory: or located by clicking on the Browse... button. To write VoiceSauce measurements to txt file, click the Start! button. This will launch a message box indicating the progress of the write. As in Parameter Estimation, the write can be stopped at any point by clicking the Stop button. When the write is complete, click the Close button to exit the message box. Then close the Output to Text window. At this point, your data has been measured and written to a file that can be analyzed. Close VoiceSauce by clicking the Exit button in the VoiceSauce home screen. |